
Hey everyone! In this guide, we’ll walk you through the process of installing and setting up Visual Studio Code on both Windows 11 and macOS. Don’t worry if you’re using Windows 10 or 8—this guide applies to those versions as well. Let’s get started!
Installing Visual Studio Code on Windows
First, let’s tackle the setup on a Windows machine. Here’s a step-by-step guide to get Visual Studio Code up and running:
Step 1: Open Your Browser
On your Windows machine, open your preferred web browser. For this example, I’ll be using Microsoft Edge, but you can use Chrome or any other browser you have.
Step 2: Search for Visual Studio Code
In the search bar, type “Visual Studio Code” and hit enter. You will see two versions: Visual Studio Code and Visual Studio Code Insiders. The Insiders version gives you early access to new features but might have some bugs. I recommend sticking with the standard Visual Studio Code for a stable experience.
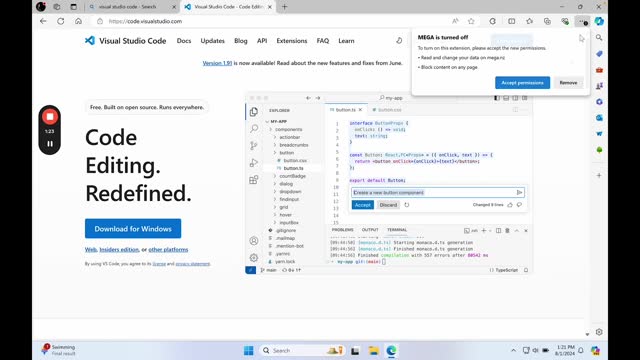
Step 3: Download Visual Studio Code
Go to the URL code.visualstudio.com. Click on the “Download for Windows” button. The website will automatically detect your system and download the appropriate version for your machine, whether it’s ARM or Intel-based.
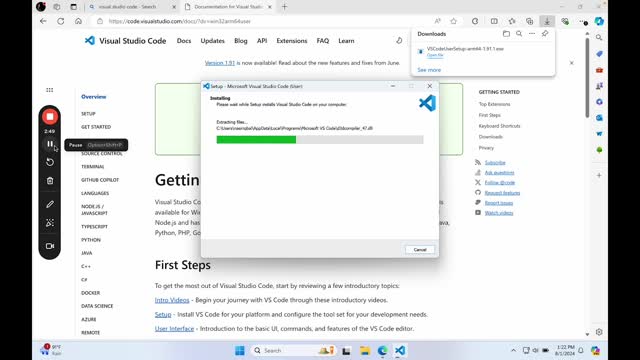
Step 4: Install Visual Studio Code
Once the download is complete, open the installation file. Follow the prompts:
- Accept the agreement (you can read through it if you like).
- Click “Next” and select the installation location (we’ll leave it as default).
- Decide if you want to create a Start menu folder (we recommend doing so for easier access).
- Click “Next” and ensure you check the options to add Visual Studio Code to your PATH and create a desktop icon.

Click “Install” and wait for the installation to complete. Once done, click “Finish” to launch Visual Studio Code.
And there you go—Visual Studio Code is installed and ready to use on your Windows machine!
Installing Visual Studio Code on macOS
Now, let’s move on to setting up Visual Studio Code on macOS.
Step 1: Open Your Browser
By default, macOS comes with Safari, but you can use any browser you prefer. For this example, I’m using Google Chrome.
Step 2: Search for Visual Studio Code
Go to code.visualstudio.com and click on the download link. The website will automatically show you the options for macOS.
Step 3: Choose the Right Version
Depending on your Mac, select the appropriate download:
- If you have an Intel-based Mac, download the version for Intel chips.
- If you have an Apple Silicon (M1 or M2) Mac, download the version for Apple Silicon.
- Alternatively, you can download the Universal version that works on both architectures.

Step 4: Download and Install
Once you’ve selected the right version, click the download button. After the download is complete, open the file. Double-click the downloaded .dmg file to extract Visual Studio Code.
Step 5: Move to Applications Folder
Drag and drop the Visual Studio Code icon into your Applications folder. If you have a previous version, you can choose to replace it.
Step 6: Launch Visual Studio Code
Press Command + Space to open Spotlight search, type “Visual Studio Code,” and press enter to open the application. And just like that, you’ve successfully installed Visual Studio Code on your macOS!
Conclusion
We hope this guide helps you set up Visual Studio Code on both Windows 11 and macOS. It’s a straightforward process that gets you ready to start coding in no time. If you found this guide helpful, make sure to share it with others who might benefit from it.
Here is a video about this topic.
Happy coding!

Leave a comment